Saturday

Apple Strudel


If there is anything I'm not, it's a baker.
Although I was a chef in my own business for years I just can't seem to bake a good dessert.. but I don't stop trying!


It's been so cold here for the past week and the downstairs of my house is drafty. We do have central  heating but I hate what it does to my sinus. So I keep it off and only use my  heat surge fireplace in the living room and it does quite a good job of keeping the draft away... but the kitchen today is really chilly.... 
Time to bake something!

I found this recipe many years ago for Apple Strudel and it was good.. so lets give it a try again.


Strudel dough

1 1/3 cups (200 g) unbleached flour
1/8 teaspoon salt
7 tablespoons (105 ml) water, plus more if needed
2 tablespoons (30 ml) vegetable oil, plus additional for coating the dough
1/2 teaspoon cider vinegar

1. Combine the flour and salt in a stand-mixer fitted with the paddle attachment. Mix the water, oil and vinegar in a measuring cup. Add the water/oil mixture to the flour with the mixer on low speed. You will get a soft dough. Make sure it is not too dry, add a little more water if necessary.

Preparation time
Total: 2 hours 15 minutes – 3 hours 30 minutes

15-20 min to make dough
30-90 min to let dough rest/to prepare the filling
20-30 min to roll out and stretch dough
10 min to fill and roll dough
30 min to bake @ 400f
30 min to cool

 The recipe will keep the kitchen warm for several hours and the smell,, so much better than any scented candle or warming oil.


I think I put too many nuts in the apples, but that's just the way I like it!


Apple strudel
from “Kaffeehaus – Exquisite Desserts from the Classic Cafés of Vienna, Budapest and Prague” by Rick Rodgers 2 tablespoons (30 ml) golden rum
3 tablespoons (45 ml) raisins
1/4 teaspoon ground cinnamon
1/3 cup plus 1 tablespoon (80 g) sugar
1/2 cup (1 stick / 115 g) unsalted butter, melted, divided
1 1/2 cups (350 ml) fresh bread crumbs
strudel dough (recipe below)
1/2 cup (120 ml, about 60 g) coarsely chopped walnuts
2 pounds (900 g) tart cooking apples, peeled, cored and cut into ¼ inch-thick slices (use apples that hold their shape during baking)
1. Mix the rum and raisins in a bowl. Mix the cinnamon and sugar in another bowl.
2. Heat 3 tablespoons of the butter in a large skillet over medium-high. Add the breadcrumbs and cook whilst stirring until golden and toasted. This will take about 3 minutes. Let it cool completely.


 Is it sounding like a lot of work,, yep,,, it was!

 Put the rack in the upper third of the oven and preheat the oven to 400°F (200°C). Line a large baking sheet with baking paper (parchment paper). Make the strudel dough as described below. Spread about 3 tablespoons of the remaining melted butter over the dough using your hands (a bristle brush could tear the dough, you could use a special feather pastry brush instead of your hands). Sprinkle the buttered dough with the bread crumbs.
My Notes: It was very hard for me to spread melted butter over the dough although I used my fingers. The dough was super thin and I was left with no option but to sort of lightly pat the butter on top. But it did'nt  hinder the taste and it came out beautifully even then 


I then mixed a little powdered sugar and milk to dribble over the top, for looks mostly.


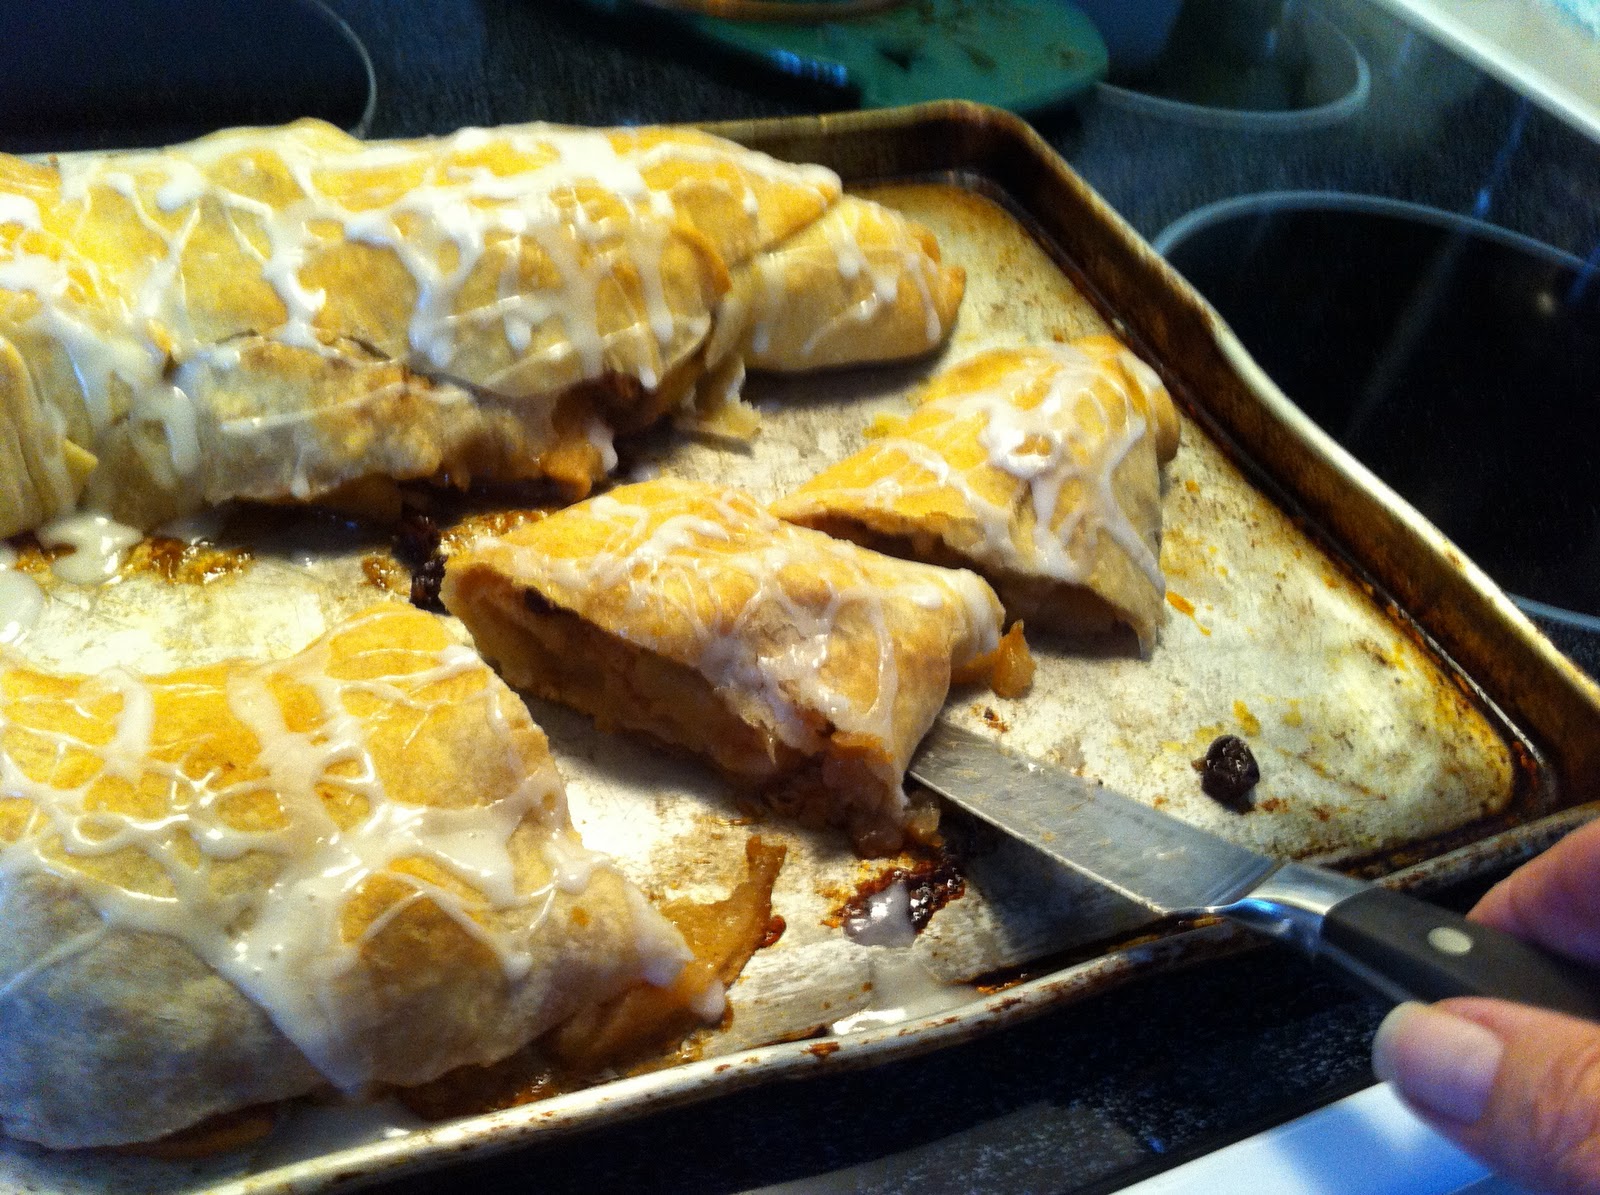
What more can I say but Whow! 
  
Does not help with the diet but it is really good.
You may want to try this Apple Strudel on your next Sunday morning gathering.  Your family and friends will love it! 

Happy Weekend Everyone!


Wednesday

My Quilt


Quilting has always been a love of mine although I'm not perfect with the cutting and the measuring. 
I think I have made maybe 12 over the years, not one has  graced my bed.
The quilts have been for family or just made to use scrap fabrics that may have been left over from one sewing project or another.
I remember my mom made many quilts.  This may be where I learned to enjoy the craft.


Rikki, my 15 yr old cat was really annoyed with me.. I tried to lay the quilt on the bed to see how it was coming along, she was screaming,, 'Go Away'.. 'Leave Me Alone'!!   My bed seems to be her sleeping spot during the day and I was in her way!


The fabric for this quilt may just be a first! I went to a quilt fabric store and paid good money for this fabric. 
Normally I use scraps to make quilts,,, except the ones I made my three grandsons. They needed little boy fabric,, I spoke of those on a past blog article.  You can read about Alex's blanket here.

 (please excuse the bad light from the camera shot)

Putting the quilt together is not the fun part for me.. it's the hand quilting that I enjoy.
I used a washable pencil to make the design and then I sat and did the quilting. Yes by hand.... it's so relaxing to me.


There she is again.... plops right down on anything I'm sewing or doing!


I had a few scraps left over from the quilt so I made some pillow covers.  
Nice added touch.


Now that I've finished my new quilt it has me looking around my bedroom with the thoughts of,  "I need to repaint the walls and make some new drapes, or sheers on the sliding glass windows"
Did you ever notice once you start one project,  it leads to another?

But what color for the walls?  Hmmm?  I'll have to think on this for a while.  It's much too chilly out, and I can't open the windows for painting.. so I'll just live with the white walls for a while longer.   Besides, I still have work to do in the kitchen.. oh that kitchen!   Will it ever get done?
I need to get the 'can lights' put up in the ceiling... 


By the way, for all following my story on the "Counter top paint"  Click the link to read about the paint made especially for those of us,  who just don't have the $$'s to buy a new counter top!


I'm happy to say,, "It's been 4 weeks since I painted the counter,  and so far not a scratch or stain has appeared"...  It is holding up wonderful!    

Don't be afraid to paint the counters in your kitchen!  
( If you look really hard, this is me doing the happy dance)


((((   *   )))
                                                               

I'm joining these partys

  Weekend wrap up party


Sunday

The history of Scissors


Medieval Scissors.

2nd century A.D. Trabzon,  northeastern Turkey.

Scissors for the Modern Woman

Your current scissors are probably not going to make it to a museum, I know mine won't.  But a good pair of scissors is worth its weight in gold - even double if you inherited and take good care of them.
I was reading an interesting article on the history of scissors. The link is: thenonist.com/index.php/comments/3540 but for some reason won't work. You may want to try doing a copy and paste to your browser.  The photos of the museum pieces are worth the time to check out.  The information is engaging and the whole article gives one a new respect for our grandmothers' cutting equipment.
The origin of the information was from the book Scissors by Massimiliano Mandel which is unfortunately out of print. What a great coffee table book it would be!
Here are just a few of the photos, I hope you enjoy them as much as I did. I had a hard time cutting (pun intended) down the number of photos because they were all so fascinating.

Iron scissors. Eastern Mediterranean, 14th Century.

 Household Scissors. Italy, about 1550.
(I remember seeing a pair of these at my Aunts house in NJ)

Persian Tailoring Scissors. 17th Century.

Candle-Trimmers. Italy, 16th Century.


Neoclassical era Italy or France, about 1820.


 Shears / Detachable Blades. Italy, 1890.

 Decorated Steel Fretwork. England, 1875.


 "These are my scissors"

These are my moms. I found them in her sewing box after she died.


 If you all are like me, I do my best to '"Not use these scissors on anything but the task for which they were intended" but, I'll admit during my years of children home with me, my scissors were used to cut wire, toys, plastic and many other things... but now I do my best to not use them for anything other than fabric and threads!
I do have my kitchen scissors and my garden scissors, my tin snips, wire cutters and a host of other cutting implements and will not bore you with a photo of them....
Having learned to treat my scissors with great care, they all have cut with precision and have lasted through many a sewing project....

This is one of those projects that I will talk about in a future post...

"My Quilt"

Yes, after making quilts for almost everyone in the family, I'm finally  making a quilt just for me,, it's mine,, no one else can have it!


(did I mention, this one is for me! Sorry kids, it's mine)